⌂
本地部署
跑在自己的服务器,不绑定第三方云。
下载预构建包即可部署:前端已打包,Windows x64 可免 Python / Node,macOS 有免环境 .app。默认内置 IvyeaAgent 与知识库;Claude、Codex、Hermes 等外部 CLI 随用随接。
数据握在自己手里,平台跟着业务一起进化。
跑在自己的服务器,不绑定第三方云。
店铺数据与密钥都留在私域,不外流。
AGPL-3.0 开源,模块可自由改造扩展。
前端预构建,Windows x64 可免 Python / Node。
随装即用的常驻智能体;外部 CLI 是可选增强,装不上也不阻断主程序。
文档留在本机,检索与问答都不出私域。
围绕 Listing 与广告两条主线,调研、套图、ERP、智能体、知识库协同。
ASIN → 文案 → 整套主图 / A+ 图文直出
官方 OpenAPI 接入 · 广告优化引擎
ASIN 深度审计 · 搜索词诊断
关键词·竞品·类目洞察
一套图 → 多语言 → 多站点
私有文档检索 · 回答可溯源
浏览器内 AI 会话与终端
一句话生成可执行 Skill
高自由度可定制:板块与功能都能按需增删改。对现成功能不满意,直接让 IvyeaAgent 或外部智能体(Claude / Codex / Hermes)读代码帮你修改调优 —— 审核制修复在 git worktree 隔离里改,人工确认后才落地。
截图取自实际工作台,统一主题(内置 10 套配色,下图为月岩浅色主题)。

一张白底图锁住产品真值,整套主图 / A+ 的画面与英文文案一次直出;每张过质检,人工复核后才可交付。
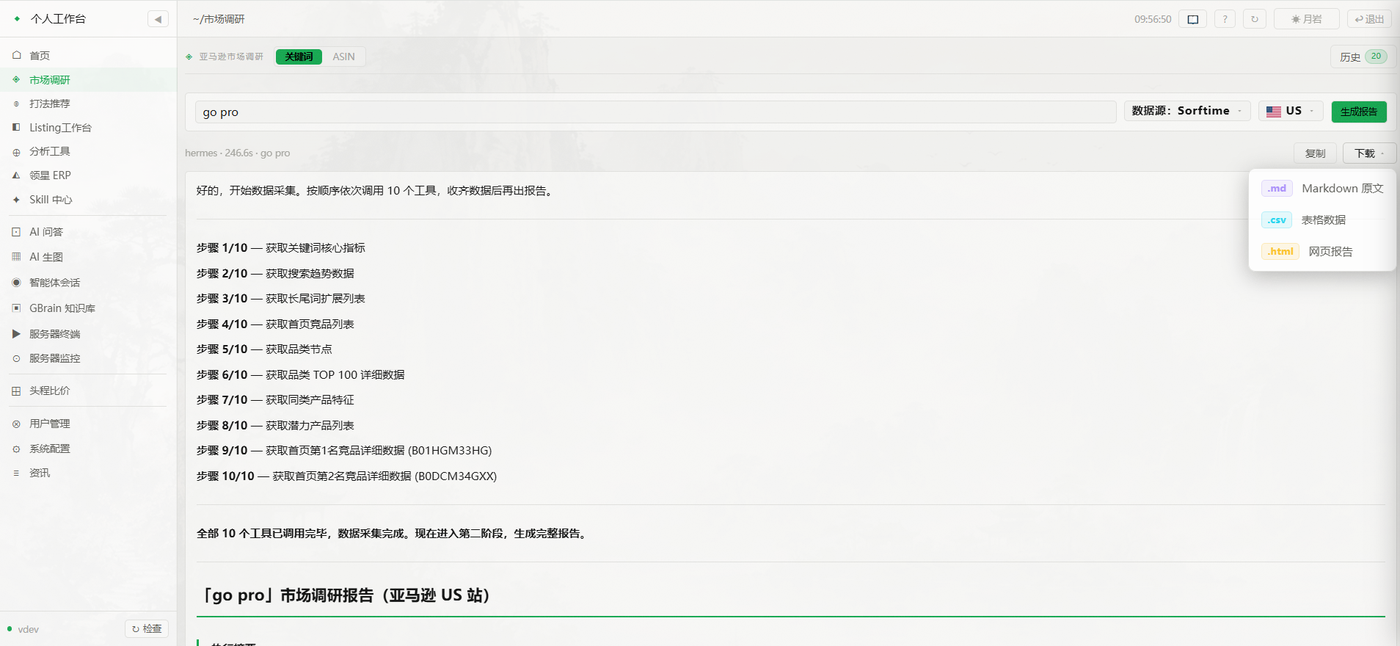
智能体按步采集真实数据,产出可导出(md / csv / html)的综合报告。
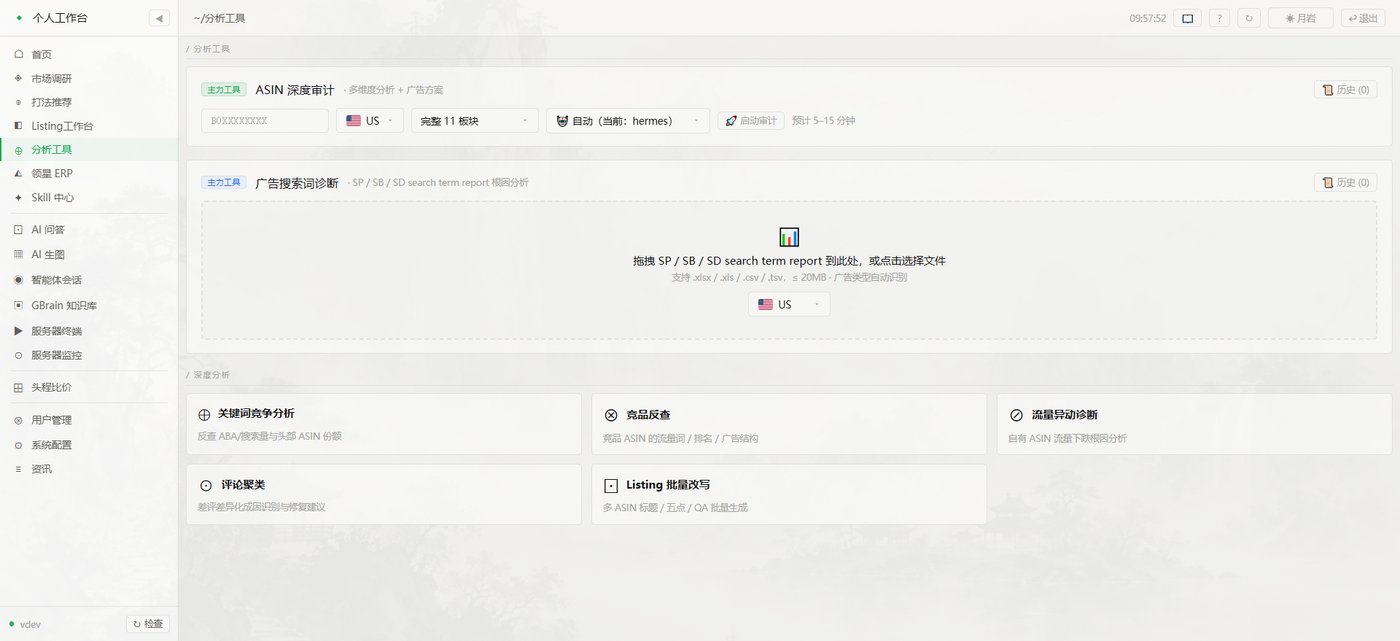
ASIN 深度审计、广告搜索词诊断、竞品反查与流量异常诊断。
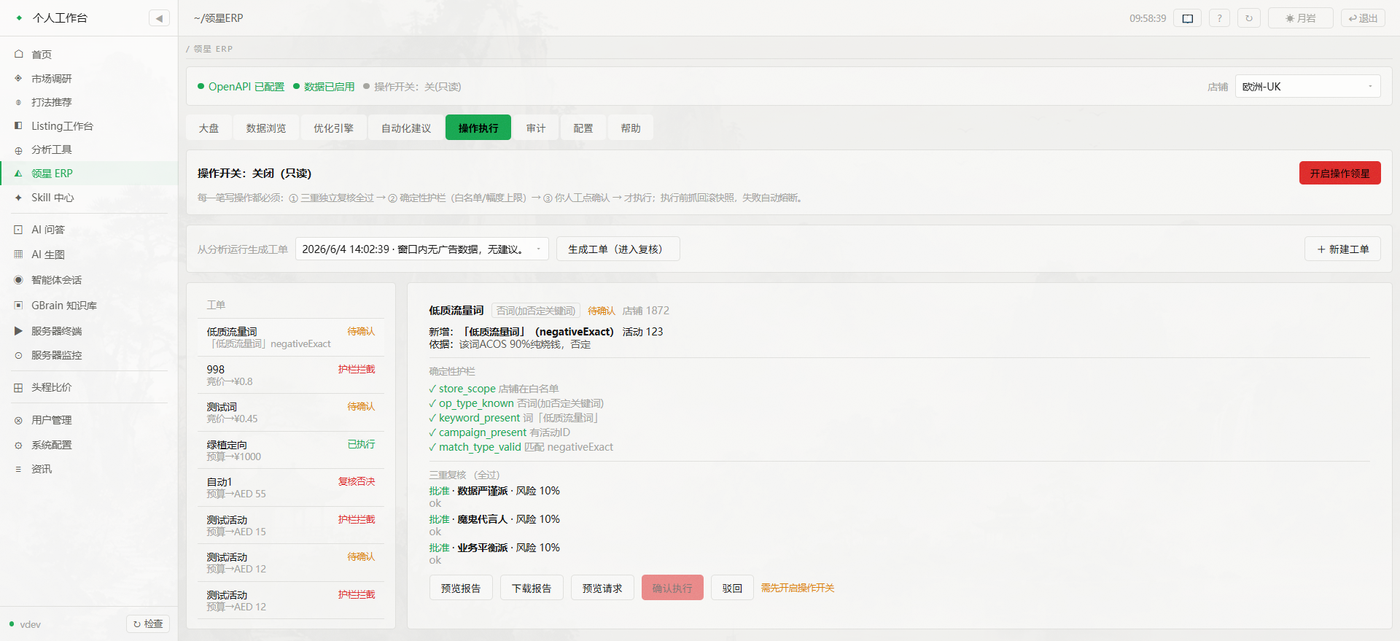
受控写操作走确定性护栏 + 三重复核 + 人工确认,默认只读。
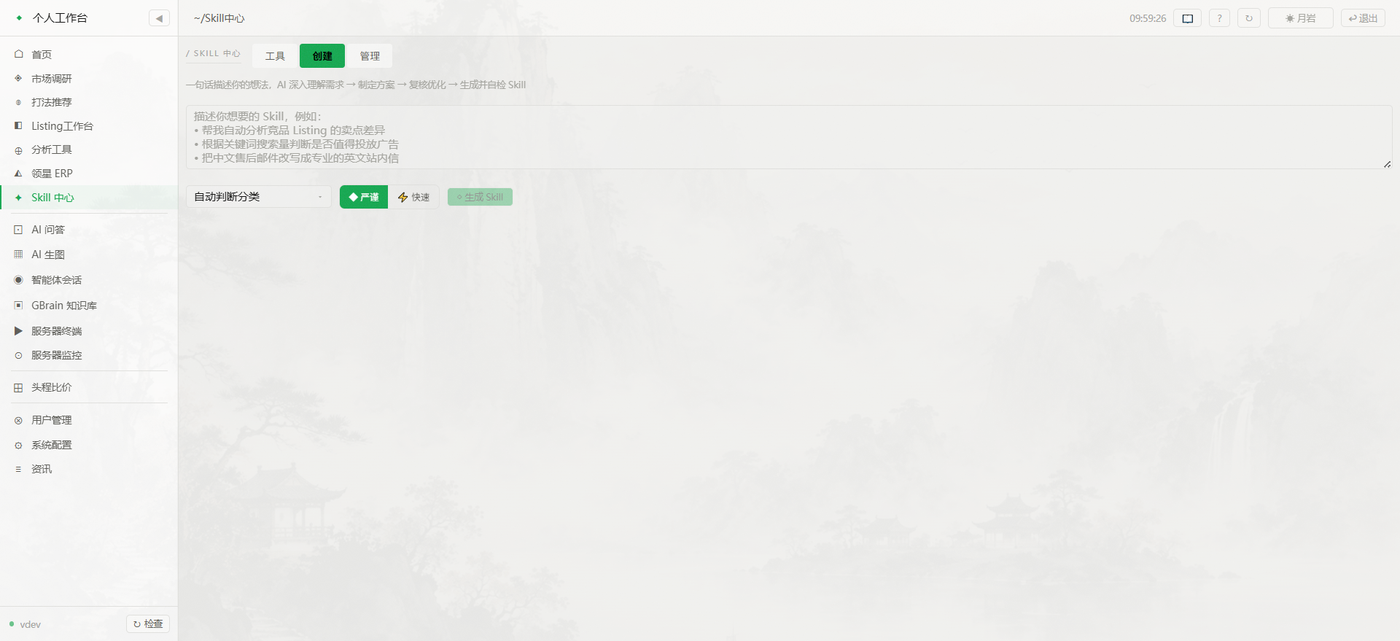
一句话描述想法,AI 多阶段生成并自检修复成可执行 Skill。
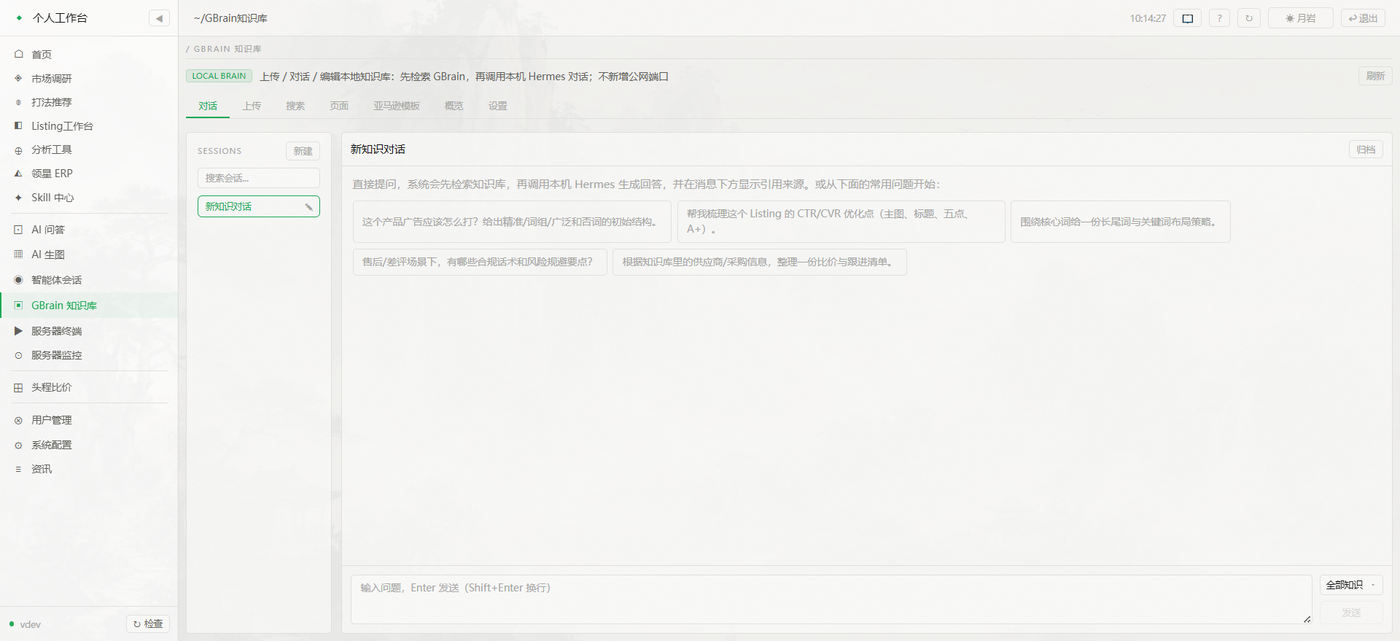
上传 / 编辑 / 检索 / 对话:先查本地知识库再生成回答,并标注引用来源,全程不开公网端口。
内置 nginx · systemd · Let's Encrypt 模板,一条命令渲染配置。